
Icons Generator
In Development Coming Soon
Icons Generator creates ready-to-use app icons for Apple platforms, Android, and Web from a single image. Upload your logo or generate a new source with AI, adjust how it should look, check every generated size in the preview, and download only the assets you need.
The generator prepares the correct dimensions, filenames, folder structure, and configuration files for each selected platform.
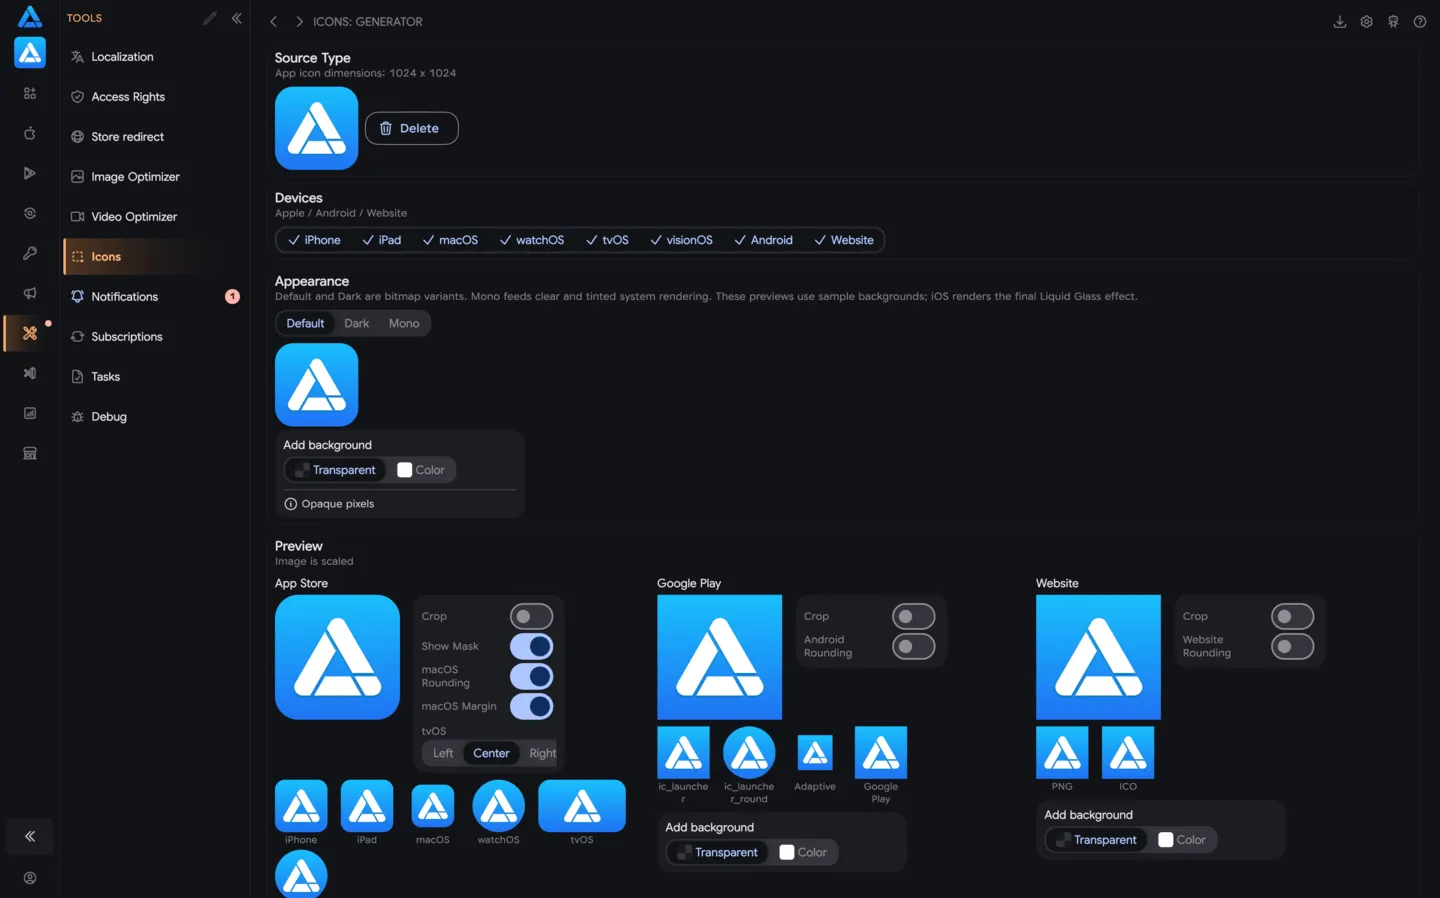
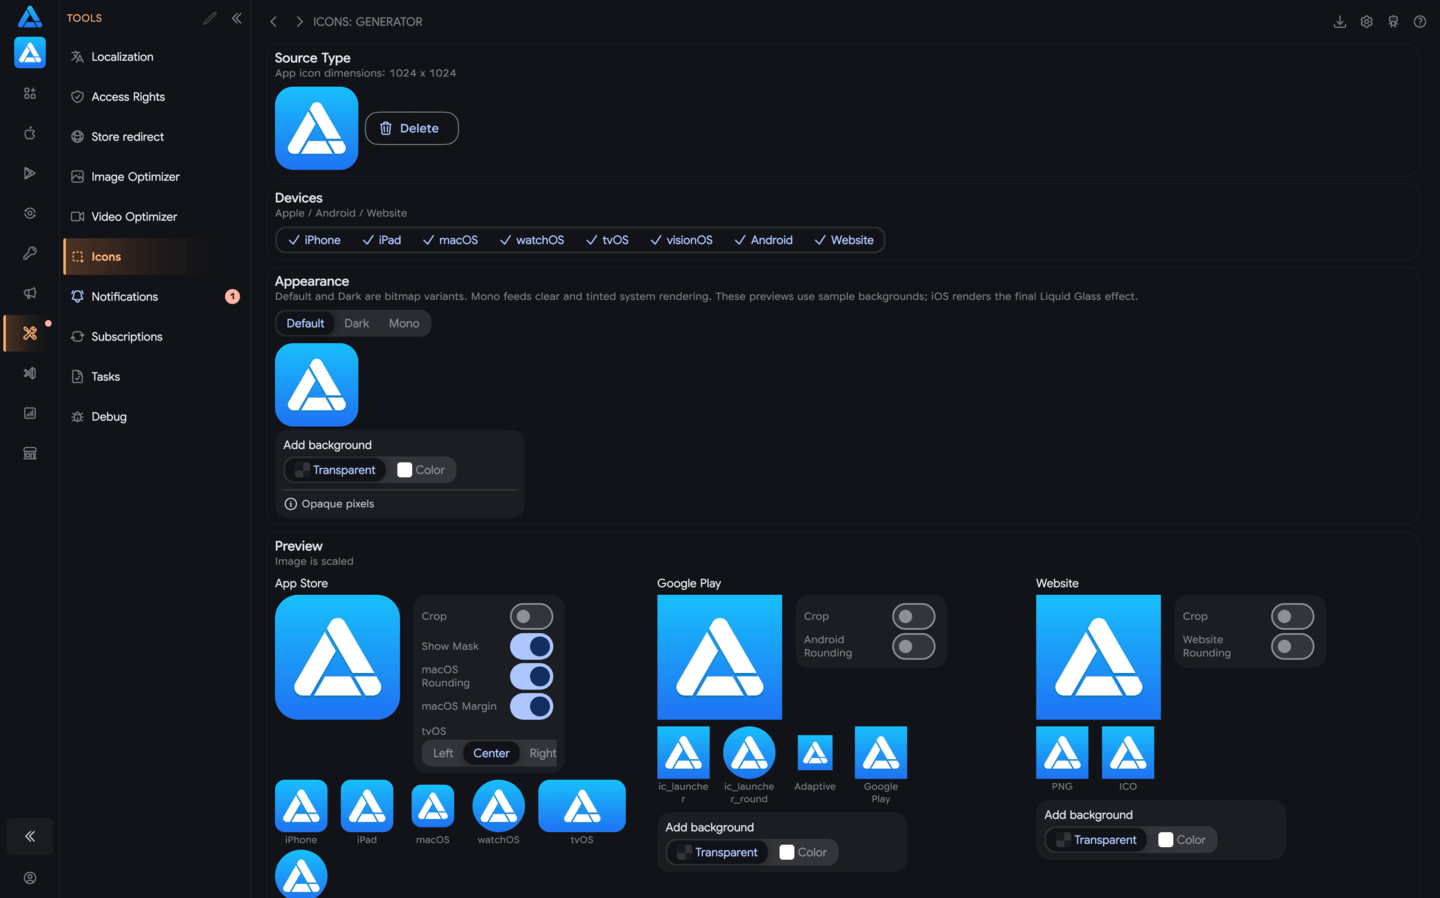
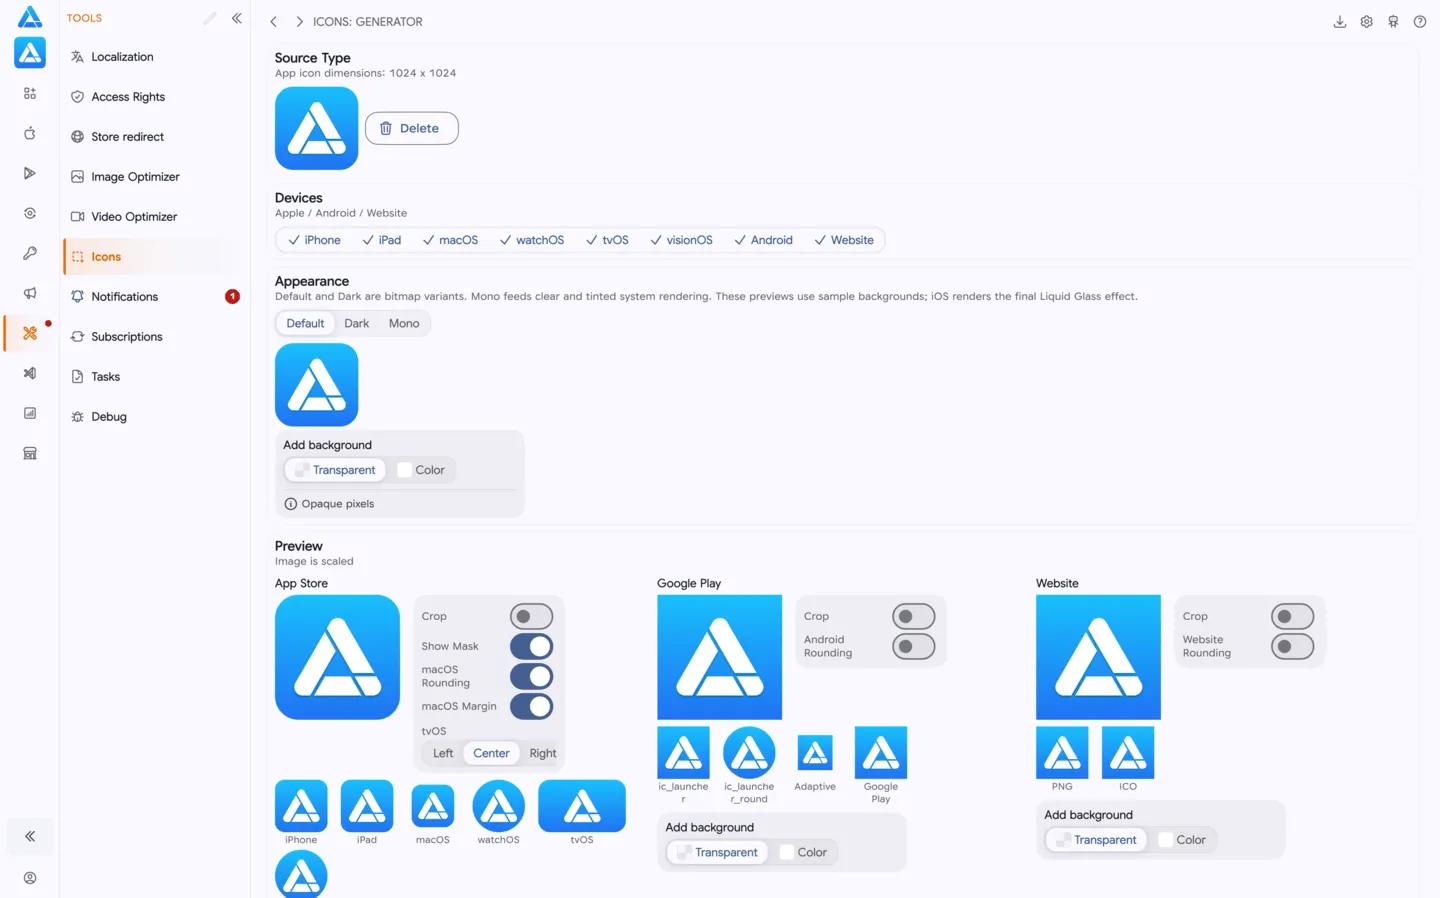
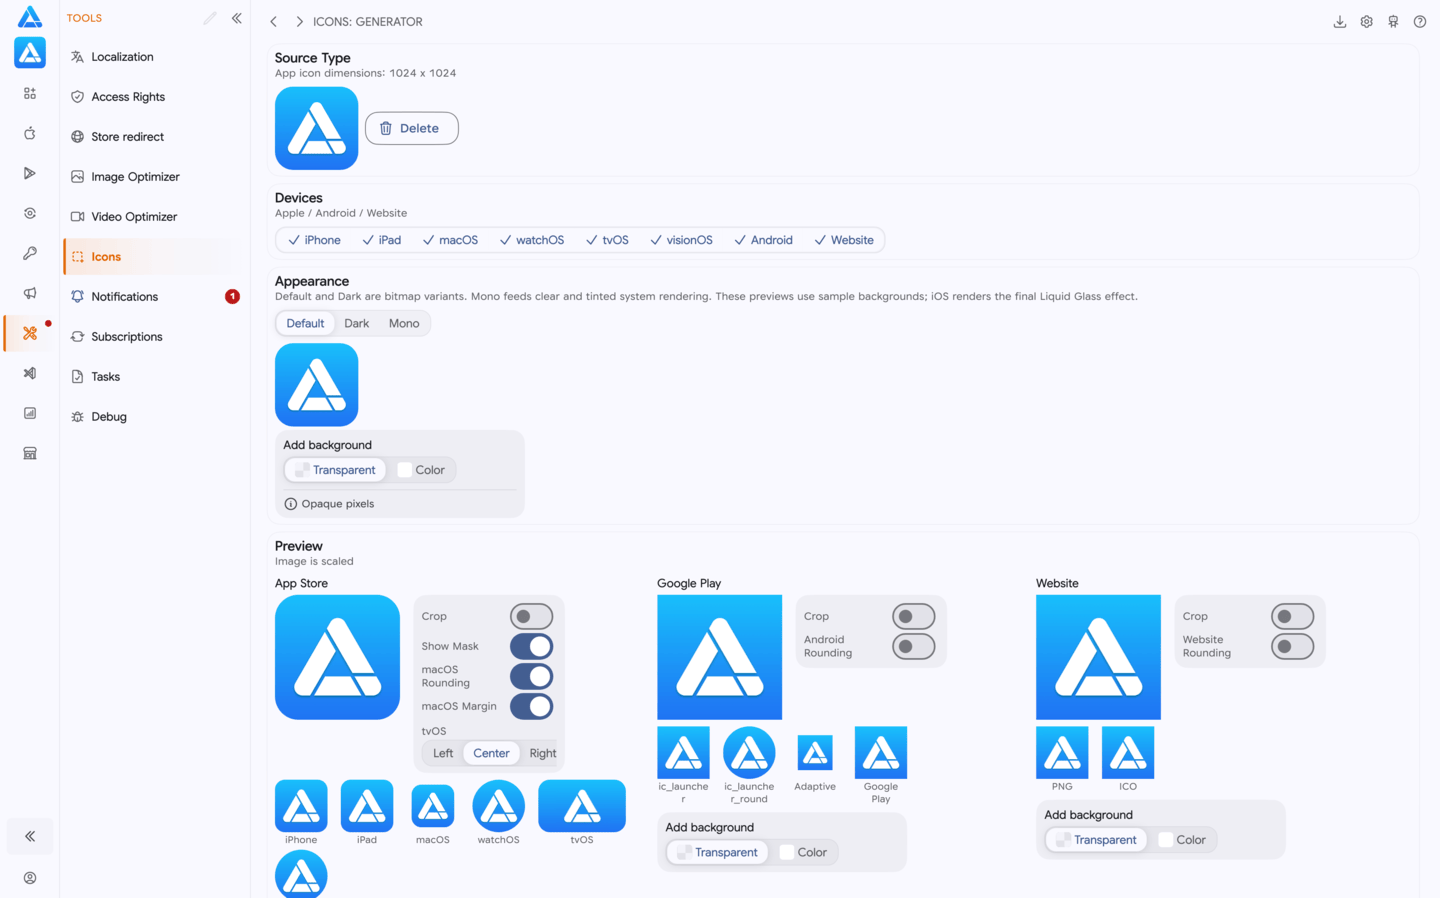
Upload an image
Section titled “Upload an image”Upload a PNG, JPG, JPEG, or WebP file using the file picker or drag and drop it into the generator.
For the best result, use a high-quality 1024×1024 px square image. If the source has a different aspect ratio, you can crop it directly in the editor. Images smaller than the recommended size can still be used, but very small originals may look less sharp when enlarged.
One image can be used for every selected platform. You can also replace or remove it before exporting.
Generate an icon with AI
Section titled “Generate an icon with AI”Instead of uploading an image, you can create the source icon with AI. The generator produces several visual options from a text description. After you select one, it becomes the common source for all selected Apple, Android, and Website platforms and continues through the same crop, preview, and export process as an uploaded image.
To generate an icon:
- Select AI in the Source section.
- Describe your app and the desired icon in Description.
- Select an available image generation model.
- Choose from 1 to 4 variants.
- Click Generate.
- Select the variant you prefer and click Apply.
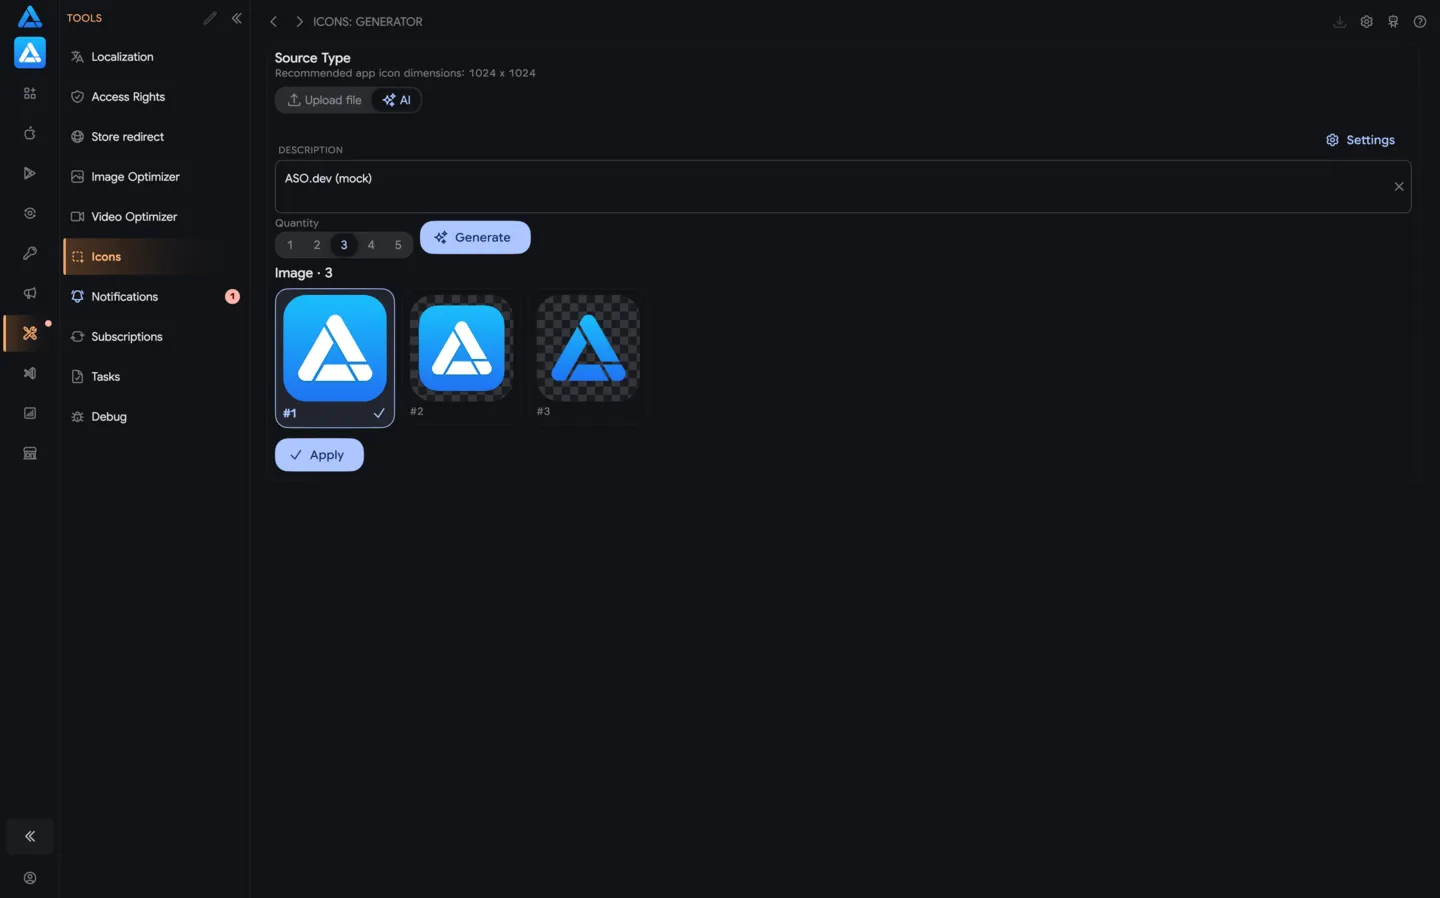
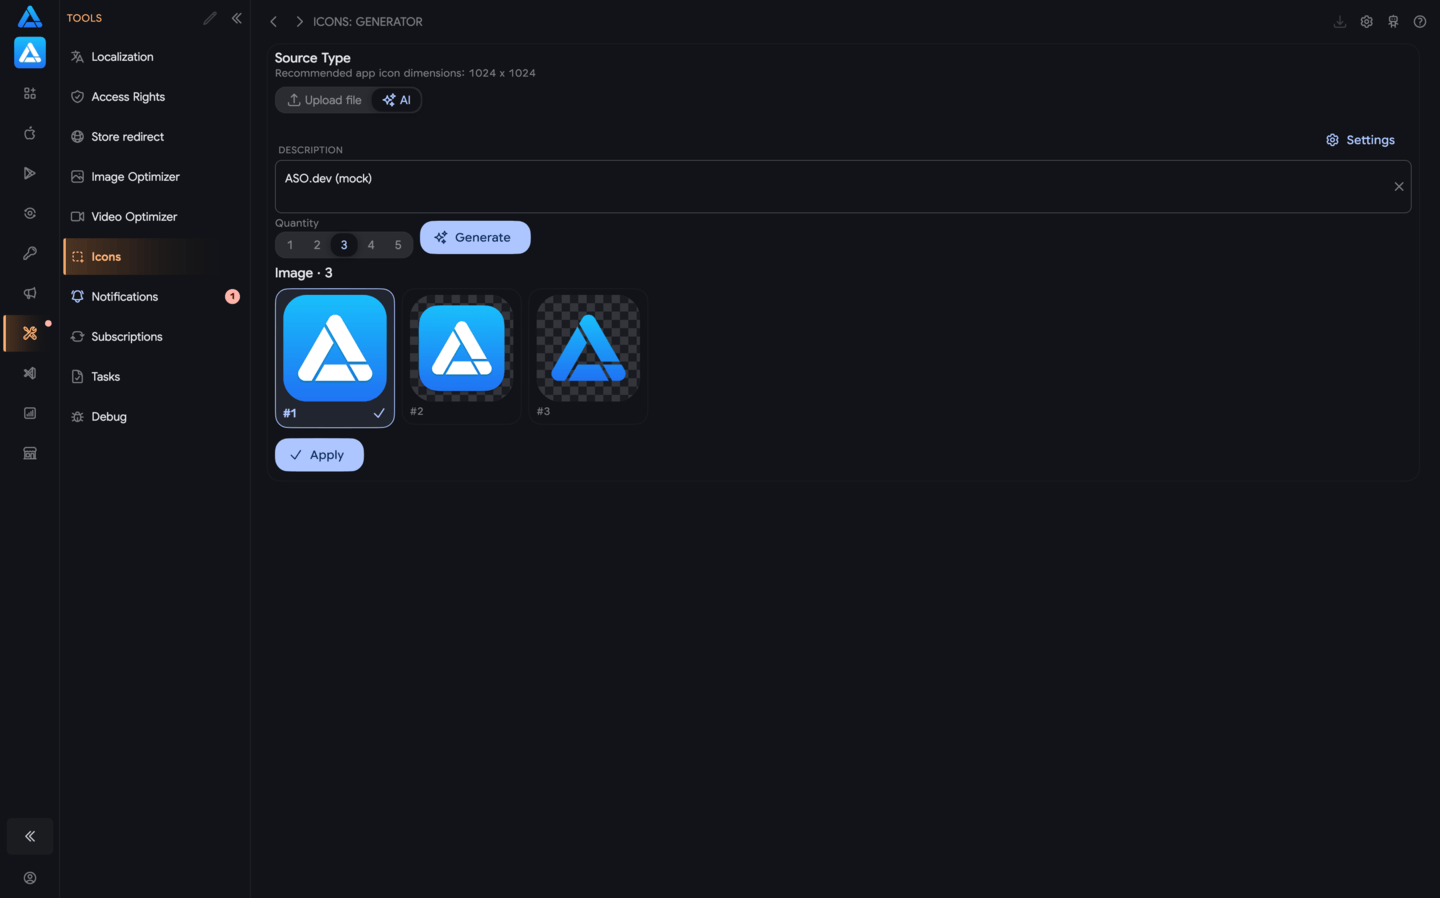
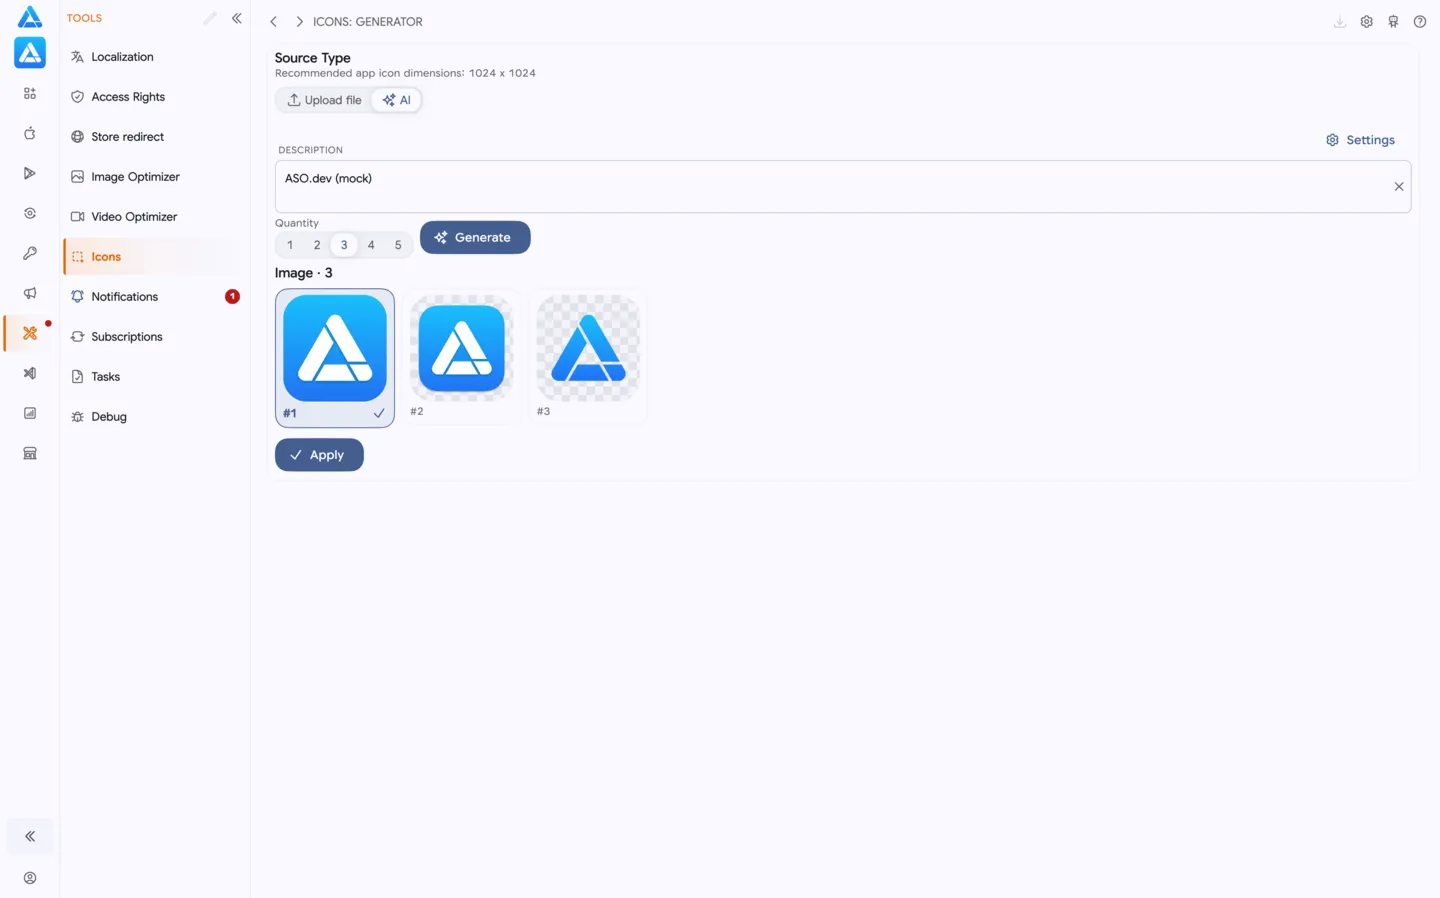
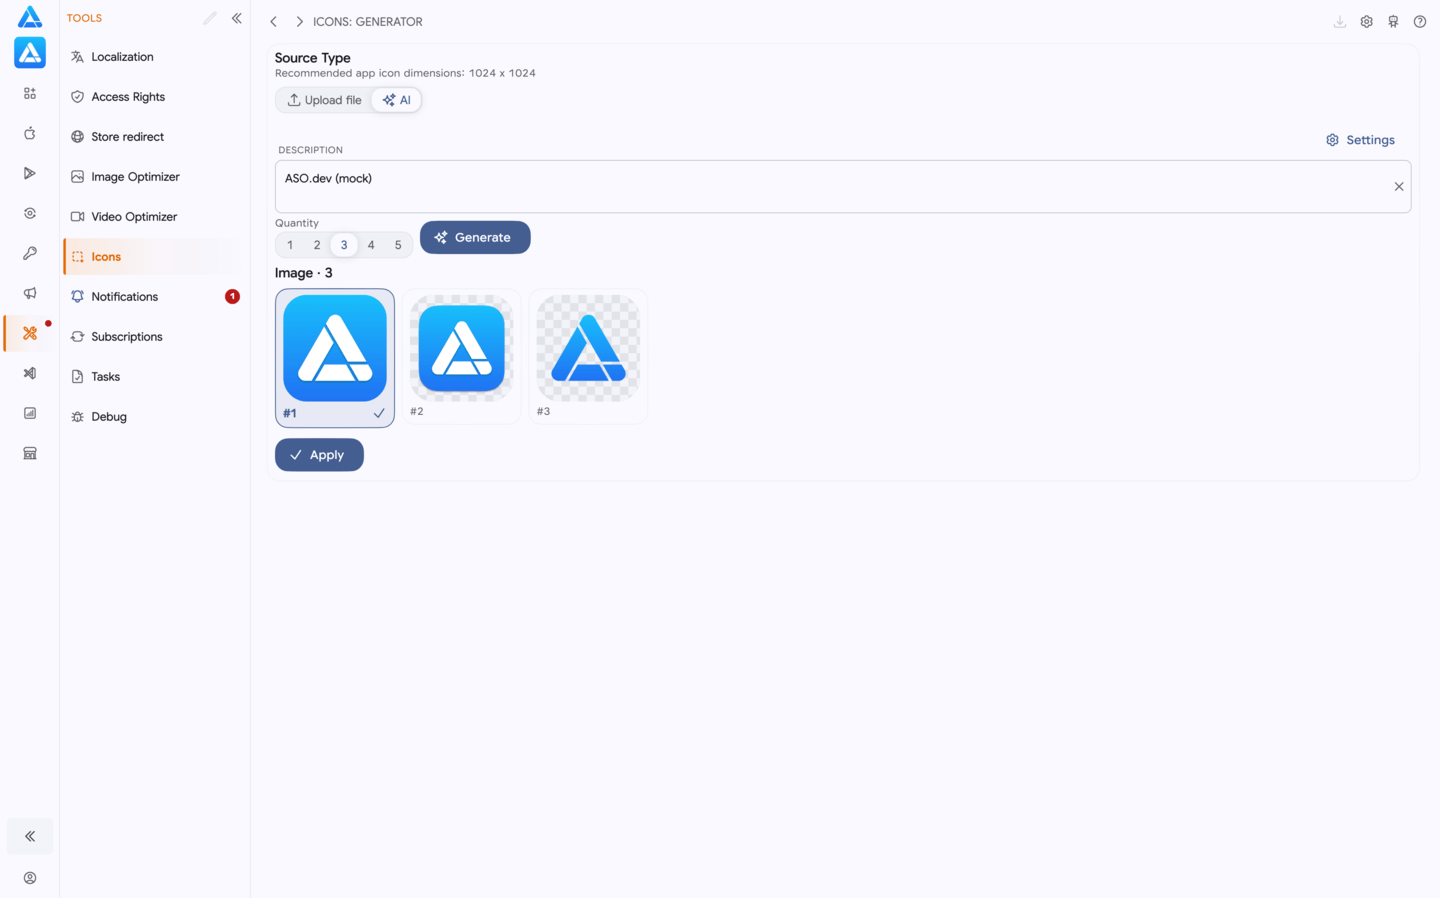
The applied image replaces the current source and is automatically normalized to 1024×1024 px. Generated variants are then cleared, and the generator opens the platform settings and export workflow.
Write an effective description
Section titled “Write an effective description”Include the app’s purpose, the main object or symbol, preferred colors, visual style, mood, and any composition constraints. Keep the idea focused on one recognizable symbol and avoid text or small details that may disappear at smaller icon sizes. Place important elements near the center so platform masks do not crop them.
For example:
App icon for a task management app. A white checkmark inside a blue circle, minimalist style, rich blue gradient, high contrast, no text or small details.
Each requested variant follows the same idea but may differ in its symbol, composition, color scheme, element placement, or visual treatment. Variants appear as they are completed, and the screen shows the current progress, such as 2 / 4.
Choose a model and customize the prompt
Section titled “Choose a model and customize the prompt”When several AI providers are configured, you can choose the image generation model. The button shows the provider, while the full model name appears in its tooltip. Model availability depends on the AI providers and account settings available to the user.
The full prompt template is available in Settings. By default, it asks the model for a square icon with a strong central symbol, high contrast, a composition that remains clear at small sizes, and no unnecessary text or external images.
The template contains the variable {description}, which is replaced with the text from the Description field. Edit the template only when you need more precise control over the style or output format.
Select, apply, or cancel generation
Section titled “Select, apply, or cancel generation”Generated options appear as separate cards. Click a card to select or deselect it; Apply becomes available after one option is selected.
You can cancel an active generation from the long-running operation indicator. Options that have already finished remain available for selection.
AI creates the source image rather than every platform file directly. After you click Apply, Icons Generator prepares the square source, applies it to the selected platforms, creates previews, calculates all required sizes and scales, applies supported masks and margins, and prepares the Xcode, Android, and Web packages for download.
Create the source image through MCP
Section titled “Create the source image through MCP”Icons Generator also supports a workflow with the local AI Companion (MCP). Connect ChatGPT, Claude, Cursor, or another MCP client to ASO.dev, then ask the assistant to generate an image for your app icon.
For example:
Generate a square source image for a task management app icon: a white checkmark inside a blue circle, minimalist style, high contrast, no text or small details.
After the MCP client generates the image:
- Save or export the generated image from the AI client.
- Open Icons Generator and select Upload in the Source section.
- Upload the generated file or drag it into the interface.
- Crop it if necessary and configure the selected platforms.
- Review the generated sizes and download one platform or the complete Xcode, Android, and Web package.
MCP creates the source artwork; it does not replace the platform preparation performed in the interface. Once uploaded, the image follows the same optimized resizing, preview, rounding, and export process as any other source file.
Crop the icon and add rounded corners
Section titled “Crop the icon and add rounded corners”Use Crop to choose which part of the original image should appear in the icon. This is useful when a logo is not square or has extra space around it.
You can also adjust the icon shape for each platform:
- Add or remove rounded corners for Android legacy icons.
- Add or remove rounded corners for Website PNG and ICO files.
- Add the required margin around a macOS icon.
- Choose left, center, or right alignment for the wide tvOS format.
The preview also shows platform masks, including round watchOS and visionOS icons and Apple rounded icon shapes. Some masks are shown only to demonstrate how the system will display the icon; they are not permanently added to formats where the operating system applies the final shape.
Choose platforms
Section titled “Choose platforms”Generate icons for any combination of:
- iPhone and iPad
- macOS
- watchOS
- tvOS
- visionOS
- Android
- Website
You do not have to generate the complete package every time. For example, you can select and download only the watchOS icon set when that is all your project needs.
Preview every generated file
Section titled “Preview every generated file”The preview shows how the icon will look on each selected platform. Open Preview → Files to see every generated PNG with its filename, dimensions, density, or scale.
From the file preview, you can:
- check the result at every resolution;
- download one PNG;
- download one platform or icon group;
- review all assets before creating the complete archive.
This makes it easy to catch an incorrect crop, excessive rounding, or details that become unclear at smaller sizes before adding the files to a project.
Optimized resizing and compression
Section titled “Optimized resizing and compression”Icons Generator resizes the source separately for every resolution required by the selected platforms. The resizing process is optimized to preserve sharp edges, colors, and transparency as well as possible at small sizes.
Generated PNG files are then optimized with lossless compression. This reduces their file size without adding compression artifacts or causing any additional loss of image quality.
Download icons
Section titled “Download icons”Use Download to export only the package you need:
- Apple / Xcode — an asset catalog with the required PNG files and
Contents.jsonmetadata. - Android — launcher icons, mipmap resources, adaptive foreground assets, adaptive icon XML, and a Google Play icon.
- Website — favicon PNG files,
favicon.ico, and a Web manifest. - All — every selected platform, organized into separate folders with the corresponding Xcode, Android, and Web configuration files.
You can also download an individual platform or file directly from the detailed preview. The export progress shows which file is currently being prepared.
Add the exported icons to your project
Section titled “Add the exported icons to your project”For Xcode, add the downloaded App Icon set to your project’s Assets.xcassets catalog and select it as the target’s App Icons Source.
For Android, copy the generated resources into the corresponding res folders in your app project. The archive already contains the density-specific mipmap directories and adaptive icon configuration.
For Web, add the favicon files and manifest to the public directory of your site, then reference them from the page <head> if your framework does not do this automatically.